Showing posts with label nursery. Show all posts

Tuesday, February 10, 2015

Nursery Reveal


With Emma being 6 months old, and time passing by so fast, I feel like I should reveal her nursery to you before she grows up and moves out on us!

I finished it before she was born and have been meaning to share it with you, but just haven't taken the time to snap some photos.

Let me preface with the fact that I imagined a girly room that didn't have "baby" written all over it. I wanted something that she could grow up in {with soft colors and gold accents}. :)

We painted the walls a soft peach color, which I shared with you here.

A lot of her decor items were either vintage items from within the family, a DIY, or found at Target or TJMaxx. 
I will share a list down below.


My amazing friend created this amazing piece and
you can check out her Etsy shop here.


I used a jar for pacifier storage


You can see the rehab of this antique dresser here.


I removed closet doors for more space with the cupboard. 

I also labeled three baskets for storage
1. Too Small
2. Nursing Essentials
3. Hats


Gold "E": Hobby Lobby
"Quite Fawnd Of You My Deer" picture: DIY
Mint green & gold scripture painting: handmade gift
Dandelion Window: handmade gift
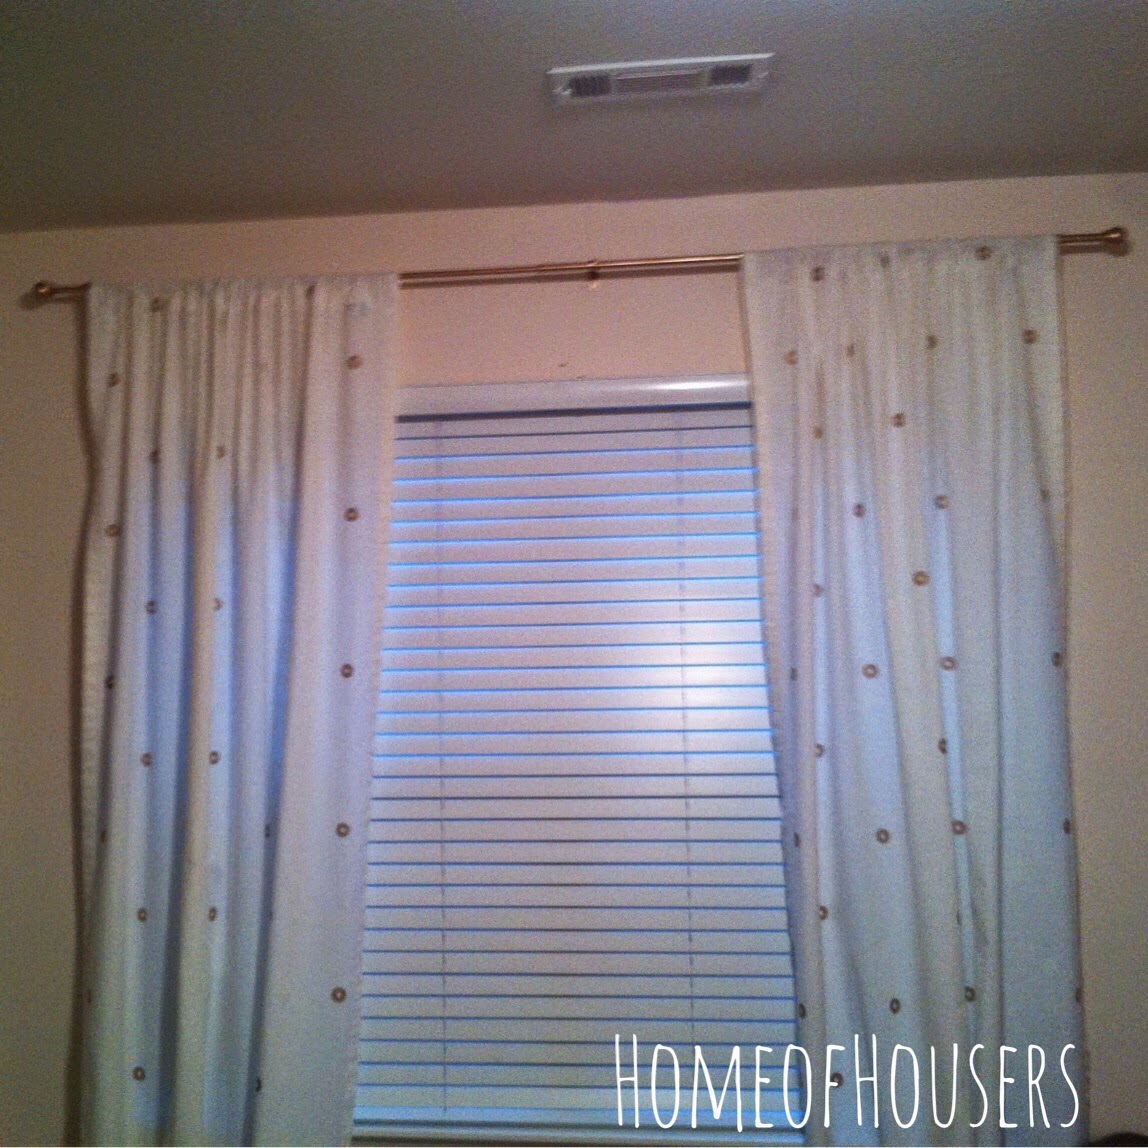
Curtains: Target
Glider: Target
Crib of blanket: TJMaxx
White frame: TJMaxx
Wire basket: TJMaxx
Peter Rabbit plates: family item

The blanket ladder was a DIY.
 The rocking horse and the vintage baby rocker was my husband's when he was little. 
The old window frame with the alphabet letters was a DIY.

The vintage scale is a family item that my father-in-law was actually weighed on as a baby and we used it as a prop during newborn and materinty photos.

 There you have it! 
What do you think? 

I am happy with the results! :)

xoxo,
Jen

Wednesday, May 28, 2014

DIY Blanket Ladder- Part 2

I have finally completed the blanket ladder that was built for the nursery!

You can see part 1 of the building process here.


The first thing I did to have it nursery ready was take a paint brush and some white colored Kilz paint to have a good base coat. 

This is a primer, sealer, and stain blocker. It resists mold and mildew growth, and seals porous surfaces for better paint coverage.


Then, I took white spray paint for my main coat.


I wanted it to have a used, vintage, and distressed look to it as well.

I used my electric sander and roughed up the edges and areas that would get a lot of wear and tear for a more appealing look.


I love the way it turned out!

The first blanket was a gift that my mother-in-law bought her in Ireland, the middle one I bought her at Home Goods (love that place), and the last one was a gift from my mother-in-law too when she went to Hawaii! :)

 Since this photo has been taken, it is now hold many more blankets to keep my baby warm, or as a play mat for tummy time! 

I am loving the use for this ladder and the way it looks in her room!
What do you think of the final results?

xoxo,
Jen


Wednesday, May 14, 2014

A small change that can make a big difference

One word, curtains!

I was on the hunt for the perfect curtains for Emma's room and of course I found them at the one and only, Target! 

Curtains are something that are so simple, but make a huge impact on a room!

Here is a before picture showing the boringness in the room with the lack of curtains.


I read that if you hang your curtains high and wide, it will provide the illusion that your windows are much wider and that the room has higher ceilings. 

We hung the curtain rod, 6" down from the ceiling


And voila, here is the fabulous after shot of these gorgeous curtains perfect for my Emma's room!


With a gold rod to match. ;)


I am so utterly pleased with them, the way they look, and how they provide such a big impact on her room!

If you like them as much as me, click here to purchase!
They are the Nate Berkus metallic window panels

What do you think of them and the difference?

xoxo,
Jen


Thursday, May 1, 2014

DIY - Nursery Paint Color Reveal

The first DIY project that we took on for our new home was painting the nursery.
I showed you several inspiring nurseries on a Top Ten Tuesday post here,
and I believe that we are well on our way to producing the image that I have created in my head. 

First, let me present to you the before pictures!


I have the cutest, most awesome, loving husband! :)


I love lavender as much as the next person but this was not the appropriate shade, nor did it flatter the walls of this room. Ugh, it just hurts my eyes to look at.

We decided to go with a light shade of peach by Benjamin Moore called Arizona Peach. 


** As I am sure many of you know, the prep work for painting is the worst part, but the most important part. Take the time to tape off all of the trim, the ceiling, and unscrew your light switch and plug-in plates from the wall to keep paint off.

Despite the lack of lighting and the way it presents itself in these pictures, I absolutely love this color and I am so pleased with the way it has turned out. It is the perfect shade of peach for the theme of this room: not too bright, not too light, and a flattering timeless girly appearance. 


This photo is probably the closest resemblance of what it truly looks like in person. 

What do you think of the color change?

I can't wait to show you the future DIY projects of this room as we continue to prepare for our baby girl. :) 

xoxo,
Jen


Tuesday, March 11, 2014

Top Ten Tuesday - Nurseries

Ever since we found out that we were going to have a baby, I have been looking at Pinterest for nursery ideas like crazy - I know, that's a given - but even more now that I know the specific gender!
Well, for this week's Top Ten Tuesday, I thought that I would share with you my Top Ten nurseries that I have come across and adore!

{Source}

I love the glamorous look of this with a twist of femininity; that floral wall is amazing!


{Source}
From Shoesoffplease.com, the soft colors of this gorgeous room caught my eye!


{Source}
Those curtains and that dresser!!!.....Need I say more?


{Source}
I love the peach color with the gold accents....so neat!


{Source}
These neutral colors are so pretty to me!


{Source}
I love EVERYTHING about this one! The color combo, the shabby-chicness, with a touch of vintage!


{Source}

Mint green = always in my Top Ten


{Source}
The soft colors, especially for a hot air balloon theme, are a sweet twist to this nursery! I love that banner, the baskets for storage on the wall at the changing station, and the ruffled curtains!


{Source}
That glider and all the pretty accents!


And last but not least....

{Source}
That sheep mobile is so sweet and different from any that I've seen!

Hope you enjoyed
Have a happy Tuesday!

xoxo,
Jen


Friday, February 28, 2014

Antique Dresser Rehab - Stage 2

I recently showed you stage 1 of the rehab that this antique dresser went through here. I mentioned that this dresser needed some assistance with its drawers, or lack there of, and here is a before photo of one that was missing the majority of the bottom...yes, that is how I bought it.


I know, Jake and I had our work cut out for us! 

I needed to replace all of the bottoms of the drawers so that they would actually be put to their use.


River was not amused, but she sure was enjoying the sunshine! ;)

Jake and I headed to Lowe's and picked up a huge thing of plywood and some small nails.

First, we Jake measured each of the drawer's length and width, drew the outline pattern that was necessary for each one, and put that electric saw of his to good work. 


Then, we held the plywood in place and hammered in nails along the edges using these wire nails.


We used these nails because screws would strip the wood with how old it is.

Finally, we were finished!
The drawers are now ready for our baby girl's clothes and necessities for changing, since this is going to get the double use as a changing table.

Here are the final results, fabulous new drawers, knobs, and all!
Enjoy! ;)


Even with its imperfections, this dresser is a beauty!


Aren't these knobs just perfect?

What do you think of the final results?
Anything that you're working on right now?

xoxo,
Jen