Showing posts with label crafts. Show all posts

Friday, October 3, 2014

Washi What?

Hi friends! I wanted to share this really simple craft that I did with Washi Tape. 

Honestly, when this stuff came out I didn't see what the big deal was. Sure, the designs are super cute, but I didn't understand the point of it. 

Turns out that Washi Tape is easy to remove, made from natural fibers such as bamboo, and it's really strong. Actually, what is there not to love?

I'm all aboard the Washi Train now because there are actually a lot of fun uses and crafts that you can do with it; just search Pinterest, but take caution because it's inspiring stuff. ;) 


 I found some in the dollar section while I was at Target! 
Gosh,that place is glorious; I can never go in there and not head straight to the dollar section!


I had an ugly frame that I originally spray painted white, but I still wasn't satisfied, so I bought two different rolls to glam it up with.


"G-L-A-M-O-R-O-U-S, yeah G-L-A-M-O-R-O-U-S

The glamorous,
The glamorous, glamorous (the glamorous life)..."

 Fergie anyone? ;)


This is so easy that it doesn't even need explaining. Just align your tape with the edges of the item and cut.

What do you think?

Do you love and use Washi Tape for anything? 
I'd love to hear!

xoxo,
Jen


Thursday, September 18, 2014

DIY Baby Turban

I've been seeing adorable baby turban headbands all over Pinterest, but I didn't want to spend a lot of time following a tutorial, or bust out my sewing machine.  I also saw really cute ones on Etsy, even organic ones, but I didn't want to pay $10+ for only one!

So, I brainstormed to come up with my own. 
This is a super easy DIY for baby turban headbands!

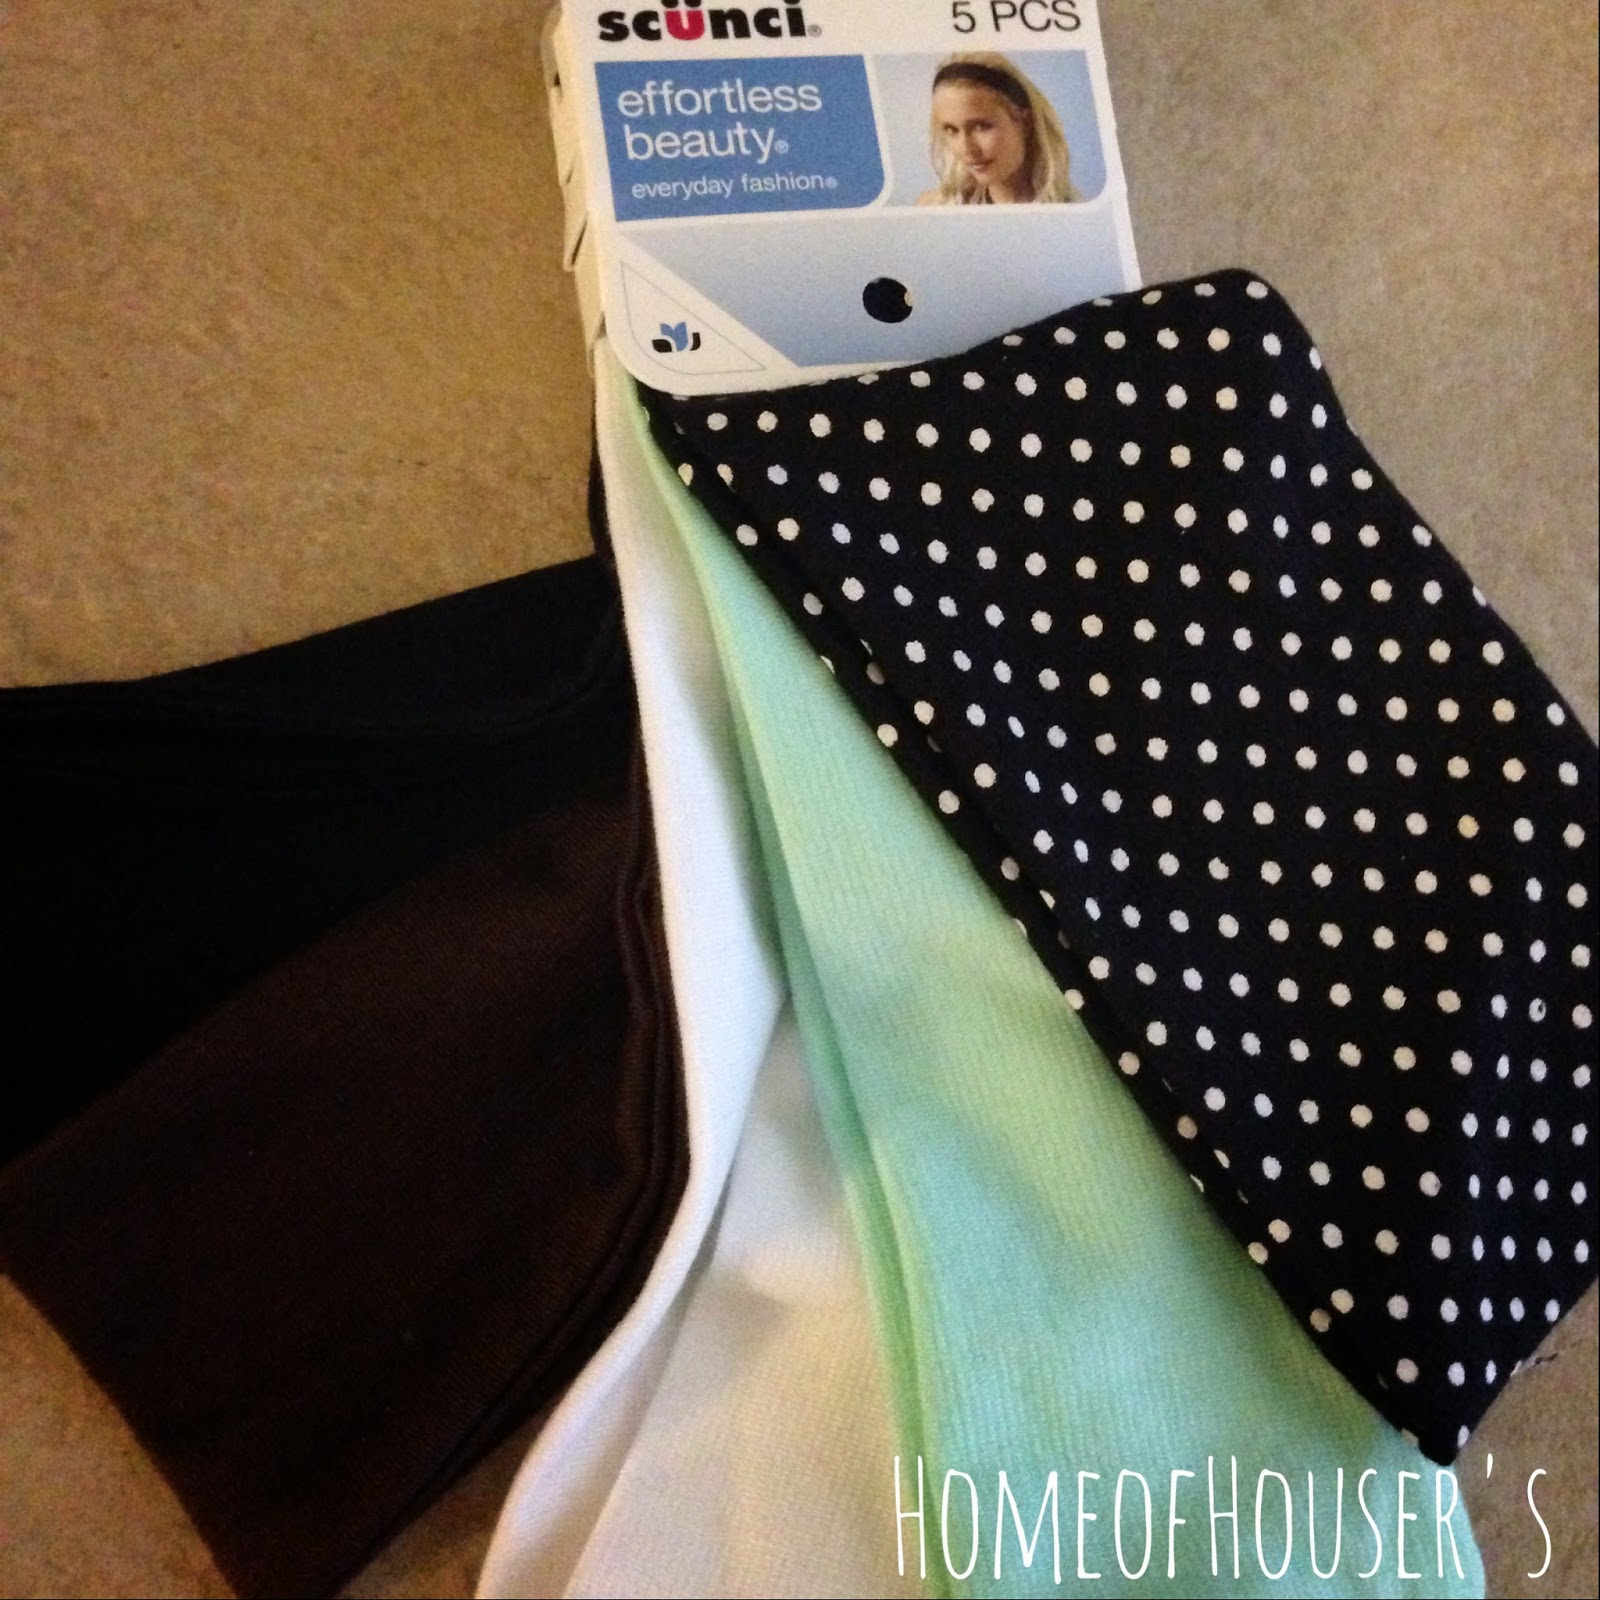
For your materials, all you need are scissors and headbands of your choice.

I picked up some adult size headbands from the hair styling section at Wal-Mart for about $5!


First, cut the headband where the seam is. 


Then, fold the headband in half hotdog style.


Fold the headband again so that the two ends meet.


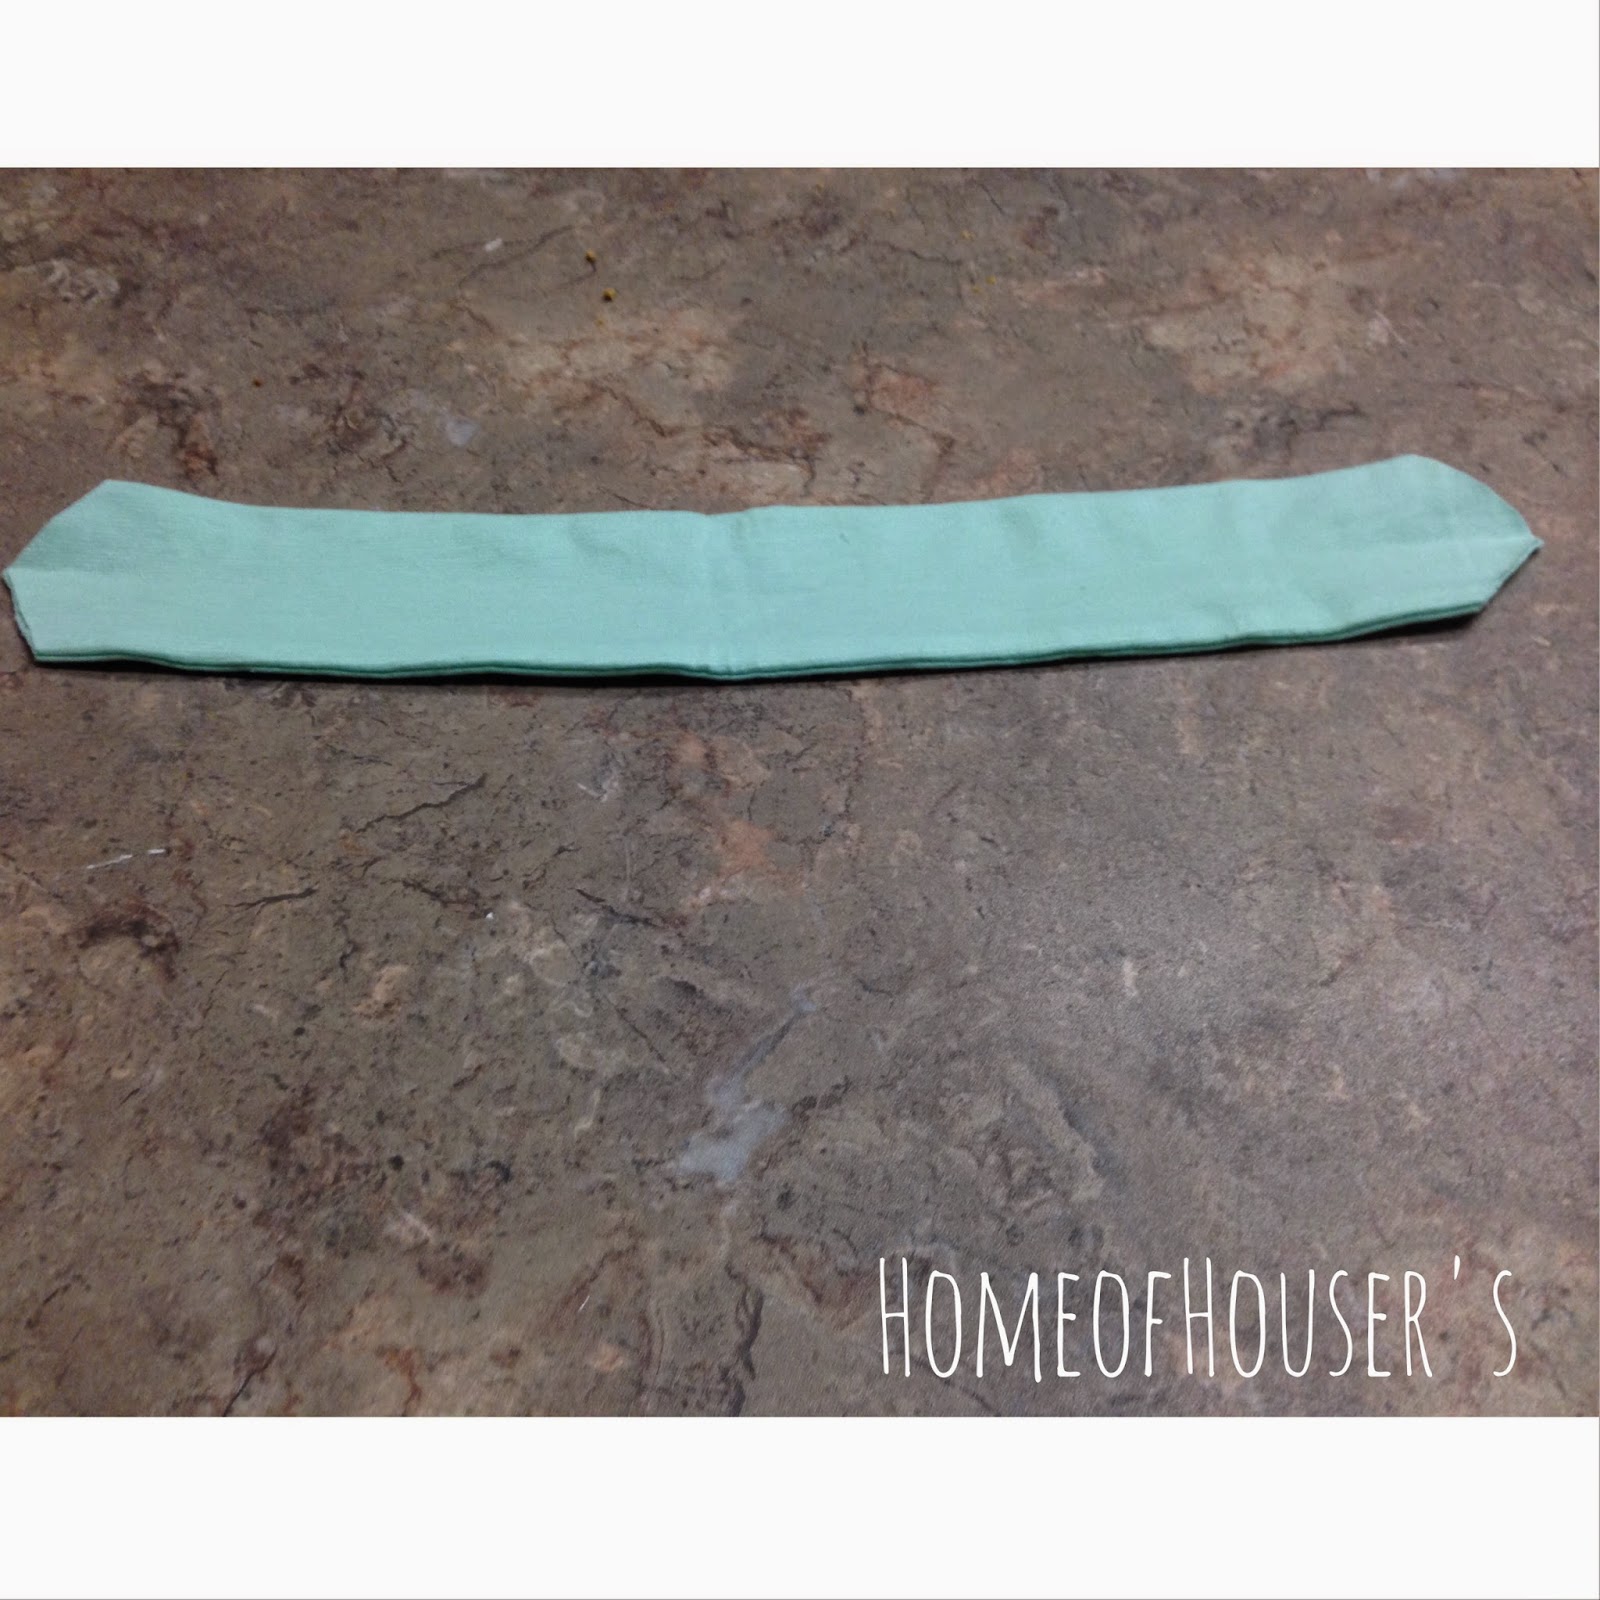
Use your scissors and cut diagonally across where all the corners come together so that you get a point.


Unfold the headband and voila!


I have this adorable baby turban headband in 5 different colors for half of the price of what one was selling for on Etsy! 


Now, tie onto an adorable baby like so, and you're done! ;)


What do you think?

Super cute right?! ;)

xoxo,
Jen

Wednesday, May 28, 2014

DIY Blanket Ladder- Part 2

I have finally completed the blanket ladder that was built for the nursery!

You can see part 1 of the building process here.


The first thing I did to have it nursery ready was take a paint brush and some white colored Kilz paint to have a good base coat. 

This is a primer, sealer, and stain blocker. It resists mold and mildew growth, and seals porous surfaces for better paint coverage.


Then, I took white spray paint for my main coat.


I wanted it to have a used, vintage, and distressed look to it as well.

I used my electric sander and roughed up the edges and areas that would get a lot of wear and tear for a more appealing look.


I love the way it turned out!

The first blanket was a gift that my mother-in-law bought her in Ireland, the middle one I bought her at Home Goods (love that place), and the last one was a gift from my mother-in-law too when she went to Hawaii! :)

 Since this photo has been taken, it is now hold many more blankets to keep my baby warm, or as a play mat for tummy time! 

I am loving the use for this ladder and the way it looks in her room!
What do you think of the final results?

xoxo,
Jen


Thursday, May 8, 2014

DIY Alphabet Craft

I have been having a great time preparing the nursery for Emma's arrival! I have been getting really pinspired too, that's short for "Pinterest inspired" of course! ;) 

Recently, I saw ABC cards strung within a frame in the background of this photo and loved it!


My blogger and media friend, Brittani, over at Linen and Lace completed a similar project and sent me this free set of antique ABC cards that she found here.

I finally put myself to work 
and completed this simple craft project for our baby girl.

To complete this project, you will need the following items:


- an empty frame (I used the frame of an old window)
- small sized clothes pins
- hot glue gun
- twine
- scissors

First, I measure the distance that I would need my twine to string on my window frame and cut out 5 strands.

Next, I turned the frame over to the backside and used the hot glue gun to secure each side of the twine to the frame. While completing this step, I measure the distance between each strand of twine with the distance of an ABC card so that I knew I would have enough room for all of them.

I repeated this until all of the strands of twine were glued to the window frame. 

Then, I took my small sized clothes pins and the ABC cards and attached them to the twine.


TA-DA! The project is complete! 
It's that simple! :)


I love the classic ABC's posted in the nursery with the mix of an antique feel!

What do you think?

xoxo,
Jen