Showing posts with label projects. Show all posts

Monday, November 17, 2014

Once Upon A Lamp

I'm not happy with the current situation of our guest room/office space, and although I have somewhat of an idea in my head of what I want it to look like, the struggle is real.

One step at a time though.

There's this lamp on the nightstand that I just wasn't pleased with anymore, but I didn't particularly want to get rid of it either; I loved the shape, and as my husband would say, there's nothing wrong with it. 

On the contrary, with the help of my favorite DIY partner, the rehab was simple.


I used the fabulous Rust-Oleum metallic black spray paint.


Here is the lamp as it was...a little too silver-y. I wasn't fond of the two-tone colors that the black leather band offered.


I taped off the leather band and spray painted the rest of it.


I love the darkened appeal to it now with the metallic finish and in one full color.


I'm hoping simple changes like this will eventually make a big impact as I slowly transform this room.


xoxo,
Jen

Friday, October 3, 2014

Washi What?

Hi friends! I wanted to share this really simple craft that I did with Washi Tape. 

Honestly, when this stuff came out I didn't see what the big deal was. Sure, the designs are super cute, but I didn't understand the point of it. 

Turns out that Washi Tape is easy to remove, made from natural fibers such as bamboo, and it's really strong. Actually, what is there not to love?

I'm all aboard the Washi Train now because there are actually a lot of fun uses and crafts that you can do with it; just search Pinterest, but take caution because it's inspiring stuff. ;) 


 I found some in the dollar section while I was at Target! 
Gosh,that place is glorious; I can never go in there and not head straight to the dollar section!


I had an ugly frame that I originally spray painted white, but I still wasn't satisfied, so I bought two different rolls to glam it up with.


"G-L-A-M-O-R-O-U-S, yeah G-L-A-M-O-R-O-U-S

The glamorous,
The glamorous, glamorous (the glamorous life)..."

 Fergie anyone? ;)


This is so easy that it doesn't even need explaining. Just align your tape with the edges of the item and cut.

What do you think?

Do you love and use Washi Tape for anything? 
I'd love to hear!

xoxo,
Jen


Wednesday, September 24, 2014

Pumpkin Painting

Happy Fall! 
My favorite season is finally here! 

I just love everything about it! Cheering on my favorite team (Go Hogs!), tailgating, apple cider, the crisp weather, open windows, sweaters, boots, scarves, pumpkins, and the colorful leaves all over this beautiful natural state!

I've been seeing a lot of different craft projects being done with pumpkins [real or fake]. I've seen people use things like paint, Washi Tape, glitter, stickers, or monograms to decorate them for the fall season, and I thought I would give it a try. 

I found these babies at Wal-Mart for only a dollar!


I used my trusty spray paint in some soft neutral colors. 


So much easier than busting out the brushes.

And look how beautiful they are now! 


So much more appealing, wouldn't you agree!? 


This was a cheap and easy project if you are looking for one, and a great way to add to your fall collection!

I've been starting to decorate our house for the season and these faux painted pumpkins look great!


Have you painted pumpkins or started decorating for fall? What is your favorite thing about the season?

xoxo,
Jen

Thursday, September 18, 2014

DIY Baby Turban

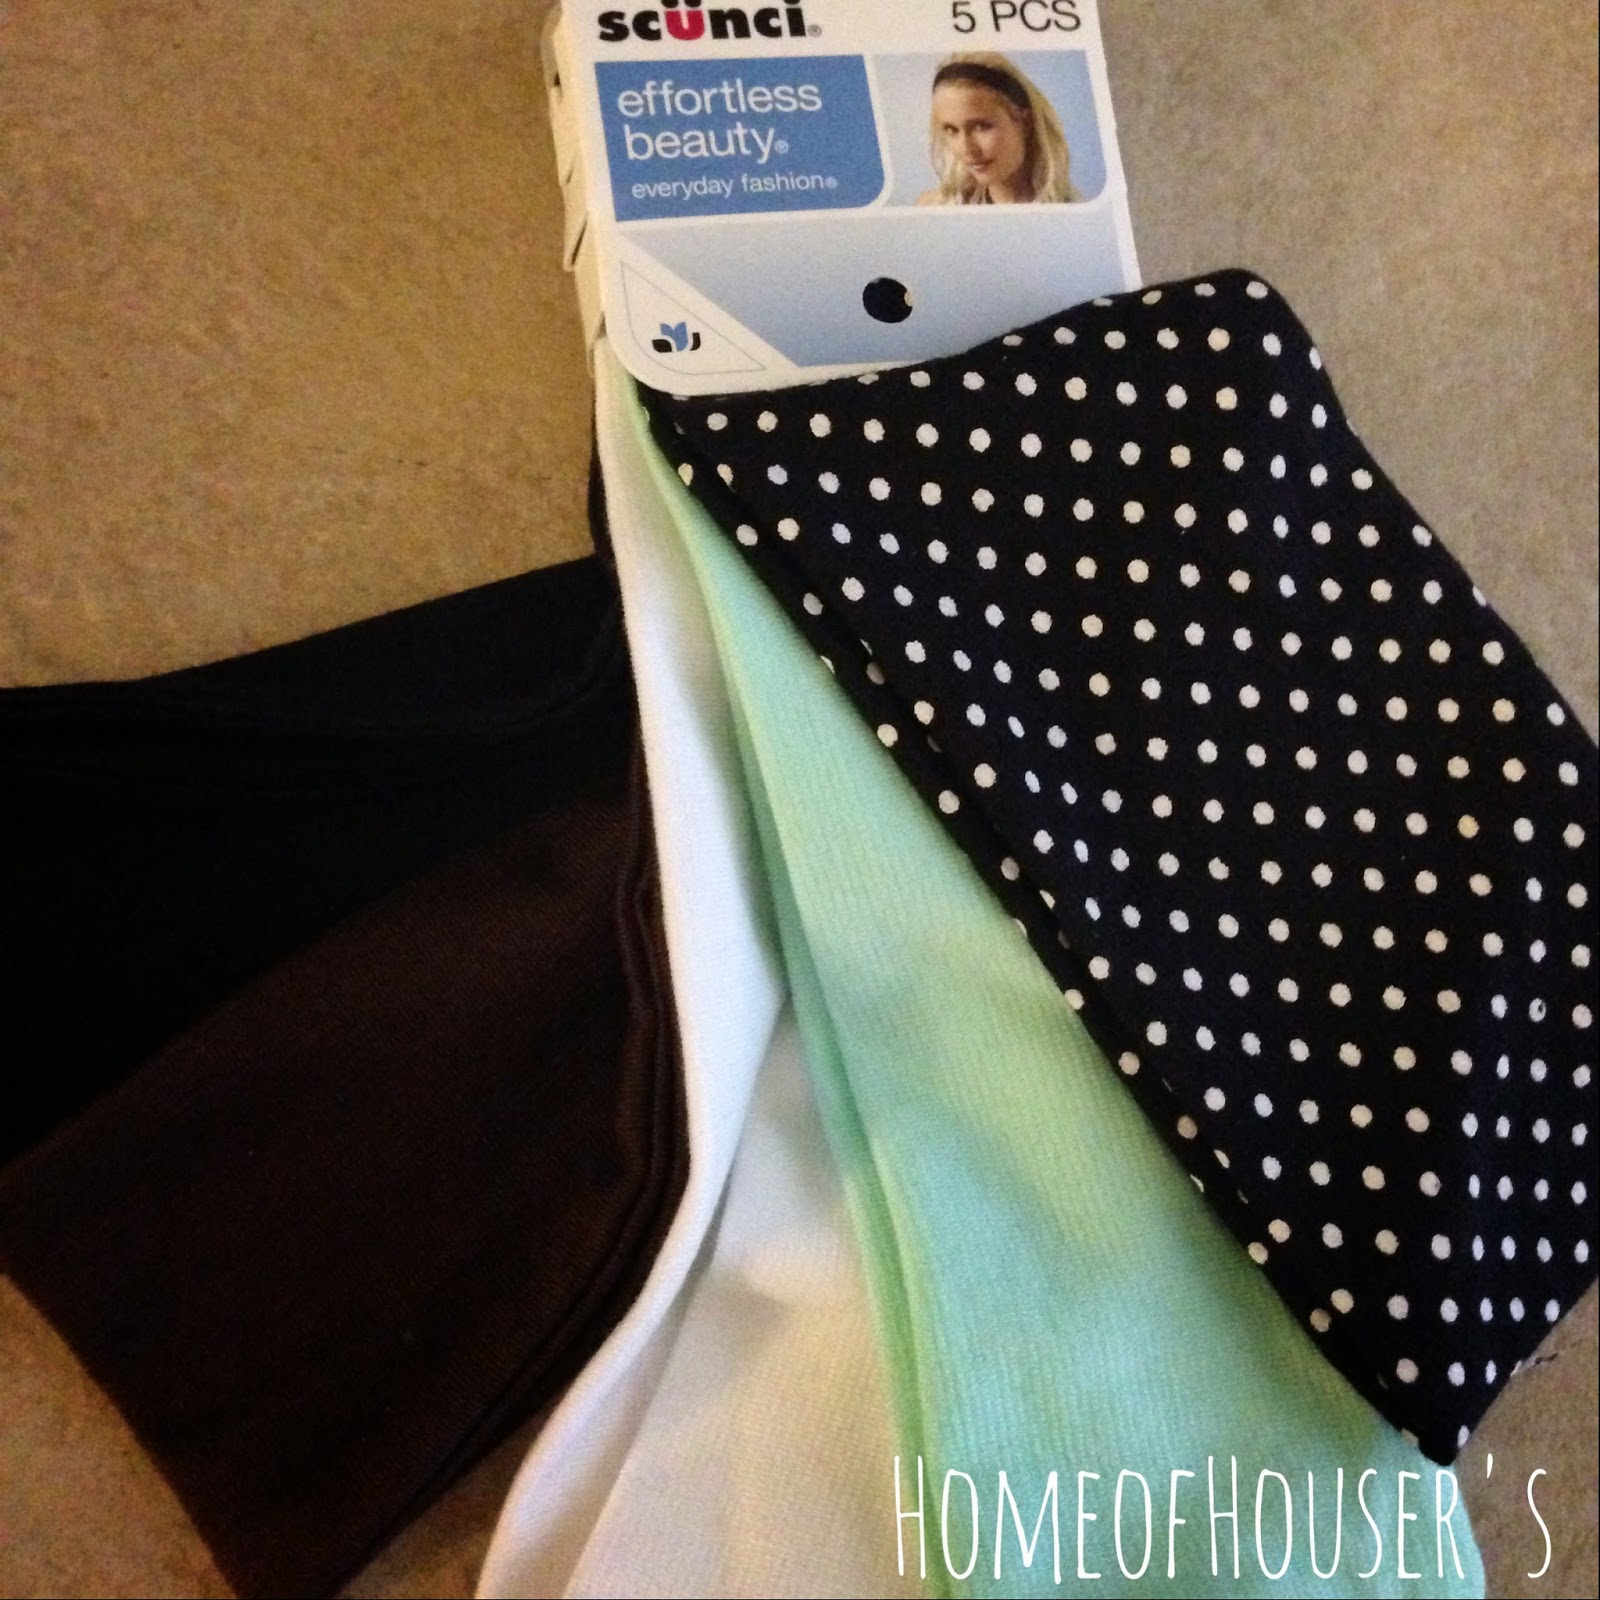
I've been seeing adorable baby turban headbands all over Pinterest, but I didn't want to spend a lot of time following a tutorial, or bust out my sewing machine.  I also saw really cute ones on Etsy, even organic ones, but I didn't want to pay $10+ for only one!

So, I brainstormed to come up with my own. 
This is a super easy DIY for baby turban headbands!

For your materials, all you need are scissors and headbands of your choice.

I picked up some adult size headbands from the hair styling section at Wal-Mart for about $5!


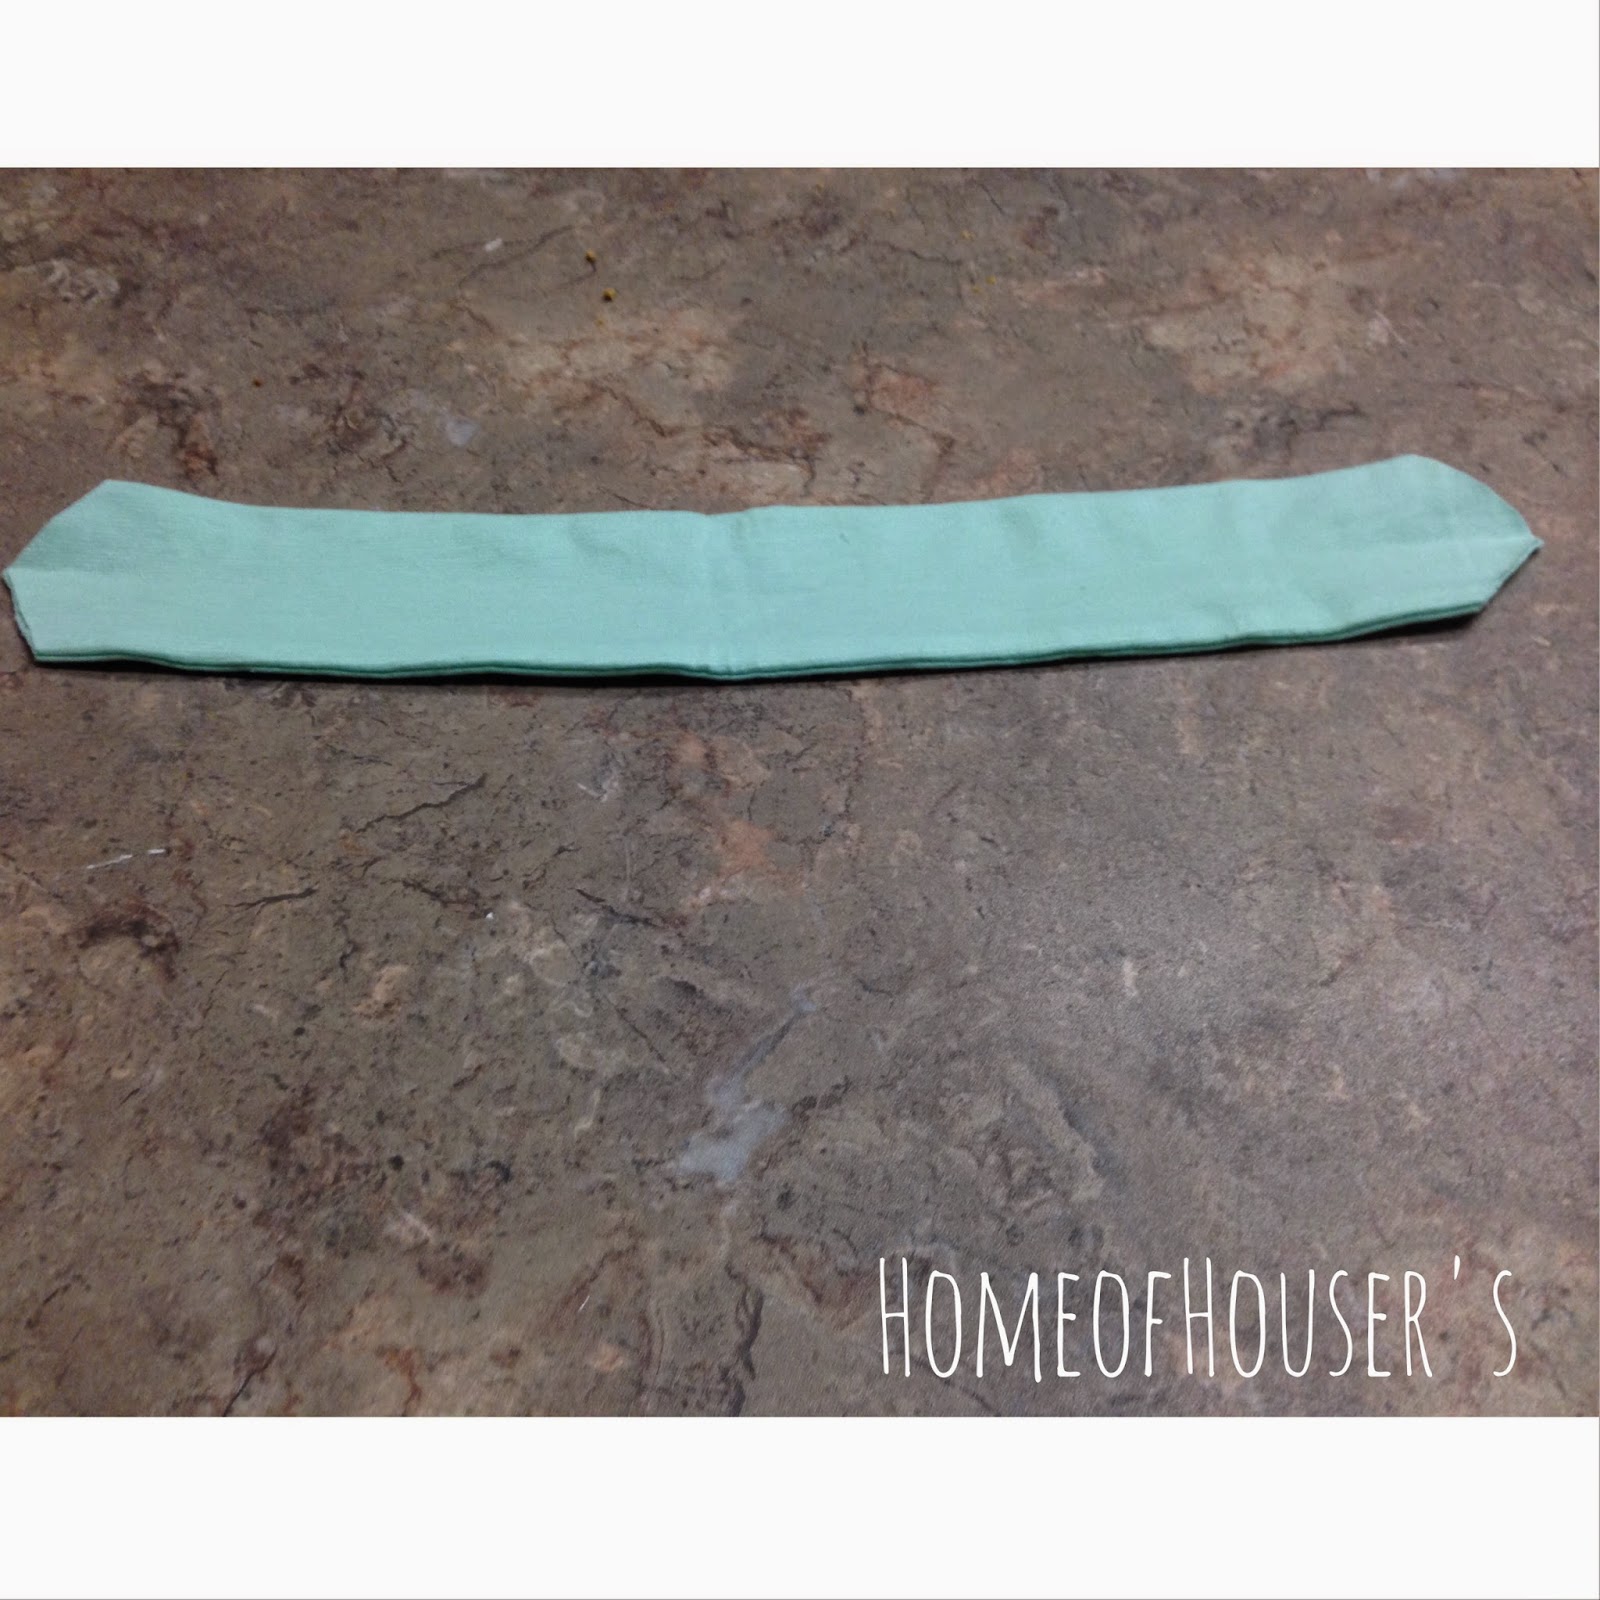
First, cut the headband where the seam is. 


Then, fold the headband in half hotdog style.


Fold the headband again so that the two ends meet.


Use your scissors and cut diagonally across where all the corners come together so that you get a point.


Unfold the headband and voila!


I have this adorable baby turban headband in 5 different colors for half of the price of what one was selling for on Etsy! 


Now, tie onto an adorable baby like so, and you're done! ;)


What do you think?

Super cute right?! ;)

xoxo,
Jen

Wednesday, September 10, 2014

Fireplace Facelift

As you know, our house has a few things that need a little TLC. 
This post is such an easy DIY fix too!

The golden vents (or whatever you call them) on the fireplace have got to go!

(PS: Ignore all of the TV cords; that's another DIY for another day.)


I can't stand looking at these golden vents, so I found some black High Heat 
Rust-Oleum spray paint to help me say my goodbyes.


Make sure you buy the high heat version or this will be pointless for you.

First, I used a small screwdriver to remove the vents and prep for painting.


I applied about 2-3 coats of spray paint and waited for them to dry.


 Once they were dried I took them back in to re-install.


I am so pleased with the results and to have a gold free fireplace!

Perfect time for cooler weather! :)


What do you think?
Have you done any simple DIY's lately?

xoxo,
Jen


Wednesday, May 21, 2014

Vintage Baby Rocking Horse

I once shared a vintage baby rocker that belonged to Jake when he was little! 

This rocking horse is another piece that belonged to Jake; we are happy that it was saved for our sweet Emma! 


As you can tell, he is missing several parts and pieces, and needs a little TLC! 

Since he only had one ear, I started by taking that off and using it as a template to provide him with two new ones.


I folded these two ears in half and stapled them to the head of the rocking horse with a staple gun so that the open flaps were facing outward.

I used leftover scraps of the leather piece to replace the rocking horse's nose strap that was falling off and stapled that to him as well.

Then, I stained the 8 little wooden button caps with a Golden Pecan Wood Finish stain by Minwax. 

I used these to recover the screws that were being shown at the bottom of the rocking horse.


Here are the 8 caps stained and ready for glue.


I used Krazy Glue to attach them to the rocking horse over the screws.


Then, I used the same color stain on the larger wooden button caps that would be used to cover screws on the seat of the horse, and to the wooden dowel rod that would be used to replace the missing handle. 

Here he is with new life! ;)


He still has is wear and tear scratches, but that's just because he was loved so much by his original rider. 
Now he is set for a new one!

Isn't he just precious?!

xoxo,
Jen


Friday, May 9, 2014

DIY Blanket Ladder

This fun DIY project was completed for the nursery, and I'll share it in two posts!

While spending time at my in-laws, my awesome hubby and father-in-law built me this amazing ladder to lean against the wall with the multi-purpose use of decoration  and holding baby blankets! 

I saw it on Pinterest here and the plans that she provided were very similar to what we did as well, and by "we" I mean Jake and his dad! ;)

First, they started with a single CCA treated pine 12' 2x8 board.


5' was measured off and then they cut that into a 2x4 for the legs of the ladder.

Here you can see the two legs and a step being cut down to size

Next, out of the remaining piece of wood, 4 slats (17" across) were cut out to use as the steps of the ladder.


Sanding was the next step.

Once all the sides and edges were cleaned up and smooth, they began to screw it together.

This is where our biggest difference is compared to the one on Pinterest.
We did not use pocket hole screws. Instead, we used what was on hand, and used 
3" High Performance Exterior Screws.


The first step at the top of the ladder was screwed in 3" from the top.

From there, each step was screwed in 12" apart from each other. 

After all four of the steps were screwed in, an angle of about 25 degrees was cut at the bottom of the legs to better support the lean against the wall. 


The best part....
not a single dime was spent to create this wonderful little DIY project.
The piece of wood was left at my in-laws house from when they bought it, and the screws and tools were all on hand already as well. 

I say, "A job well done and time well spent!" :)


There she is in all her glory!
Looks great, right?!

In the next post, I will share the finishing touches and the final look after a coat of paint! 

xoxo,
Jen