Sunday, July 19, 2015

DIY Shiplap Wall

I love Shiplap, and as I've said before, that show Fixer Upper! Ahhh I love it!!!

{site}

Aren't they just the cutest and so fun to watch!?


Jojo inspired me to complete my own version of shiplap, and with the help of my talented father-in-law, and amazing husband we were successful!!

Honestly, I was so excited and wrapped up in the process that I wasn't that great at taking pictures. Plus, I felt like each picture looked the same and you couldn't really tell the difference between steps because it was so repetitive. This is a DIY that is so adjustable to your needs that you really just need the tools and you can do WHATEVER you want, and how YOU want it with your own measurements. 

I can't wait to show you the results!

Sorry for the {bad quality} real life photos. ;)

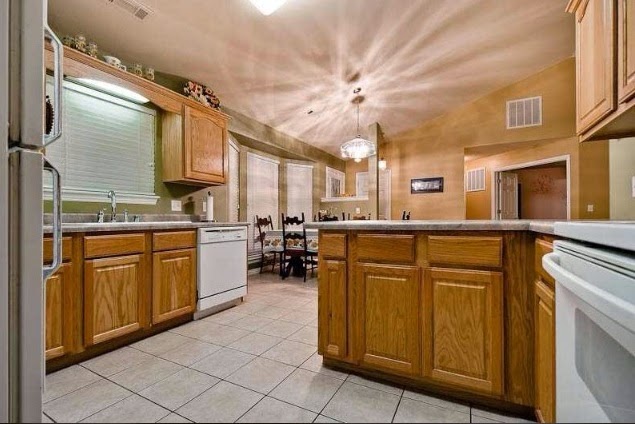
Just ignore the paint testing strips on the wall, the mess, and the fact that I was already taking things off the wall because I may or may not had forgotten to take a before picture before testing and beginning to prep. 


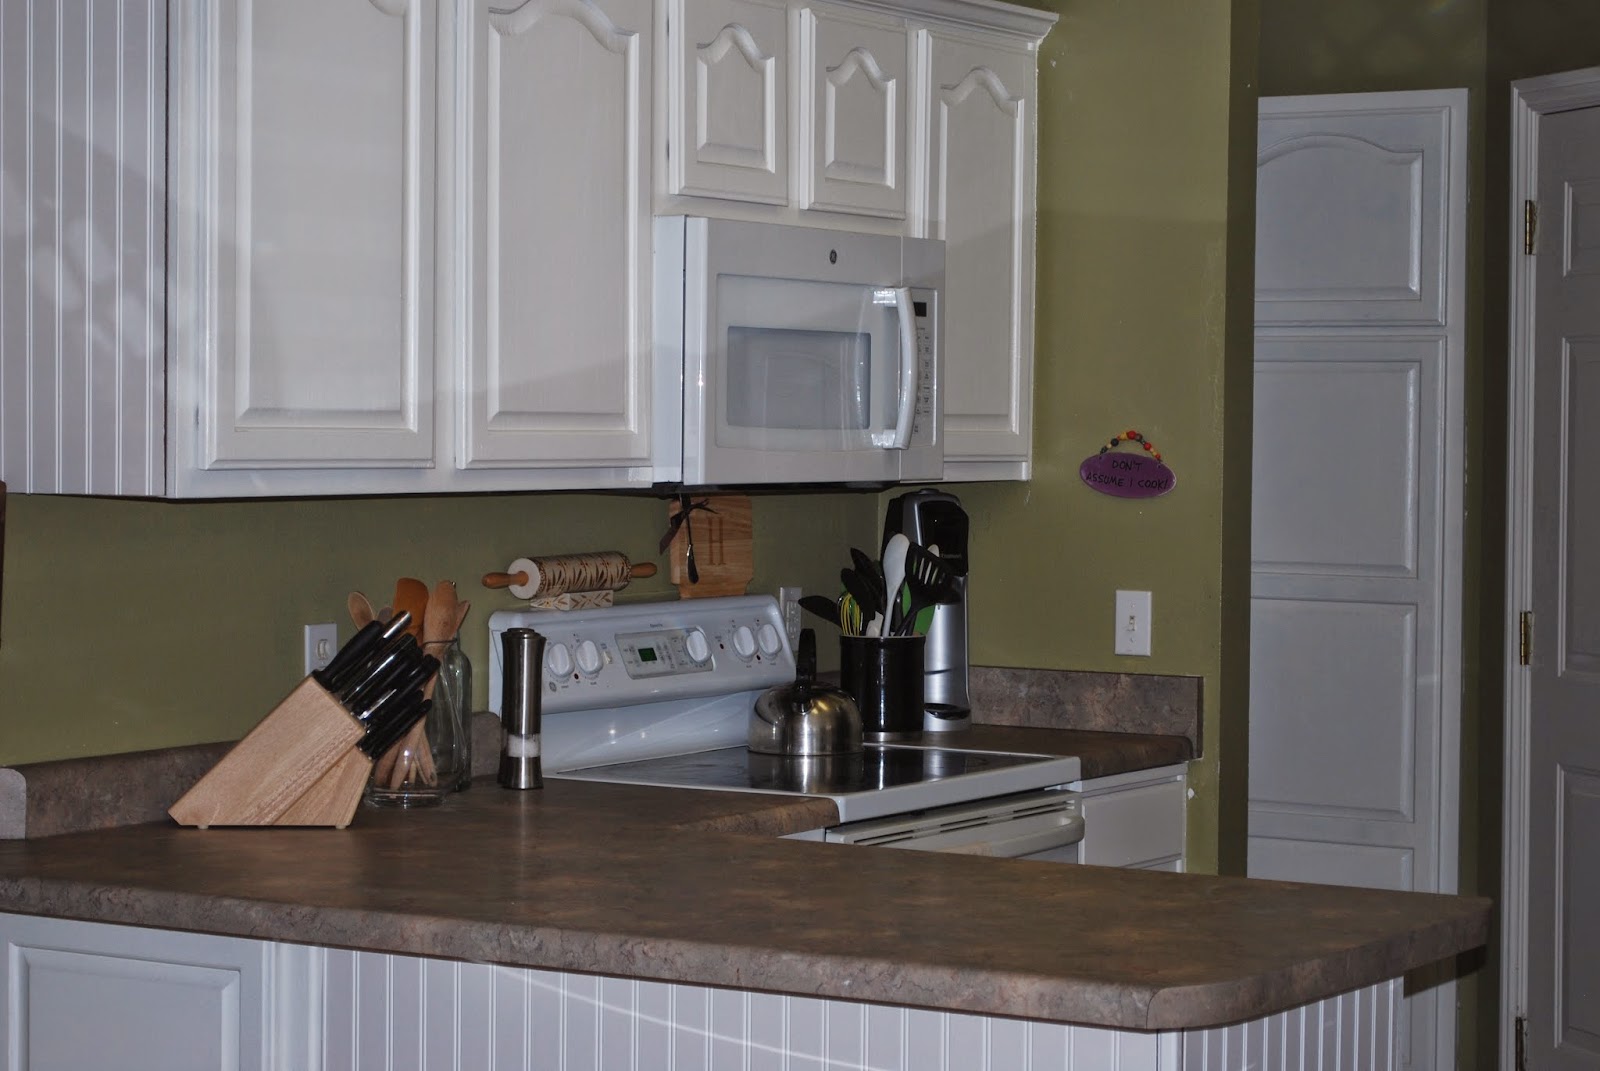
First, we had to paint over that tacky golden wheat color that the previous owners had chosen...no offense to them. 
I prefer a softer, more airy color. It's a light gray - almost white - color from Valspar.

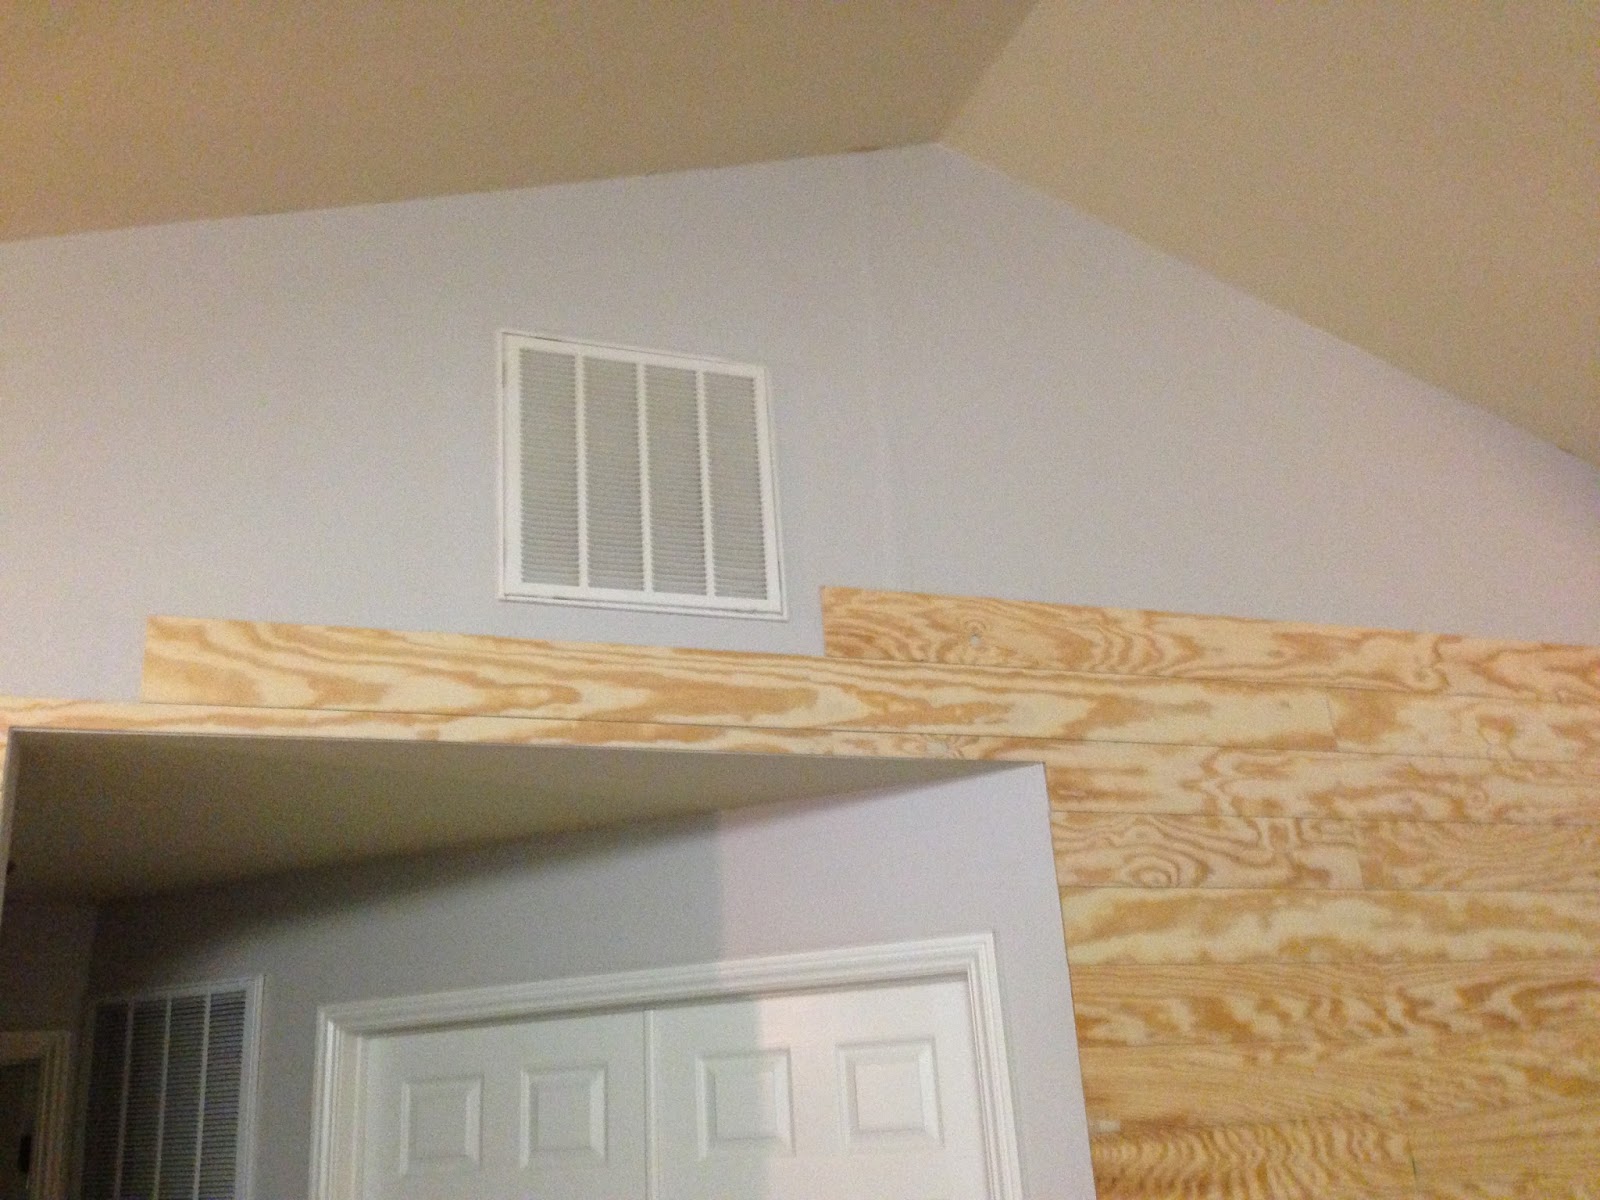
Then we began the looooonnngg process of measuring and cutting wood, and nailing it to the wall....repeat.


We actually used thin sheets of plywood that you can buy from Lowes or Home Depot. 
For the spaces between each of the boards, we used nickels. 

Materials:
plywood
nail gun
paint
nickels
miter saw
table saw
skill saw


We went with 6" wide planks and alternated between 4' and 8' long. We also started from the bottom of the wall and worked our way up.


Here, I started getting anxious and wanted to see how it would look painted, so I jumped the gun a little. ;)


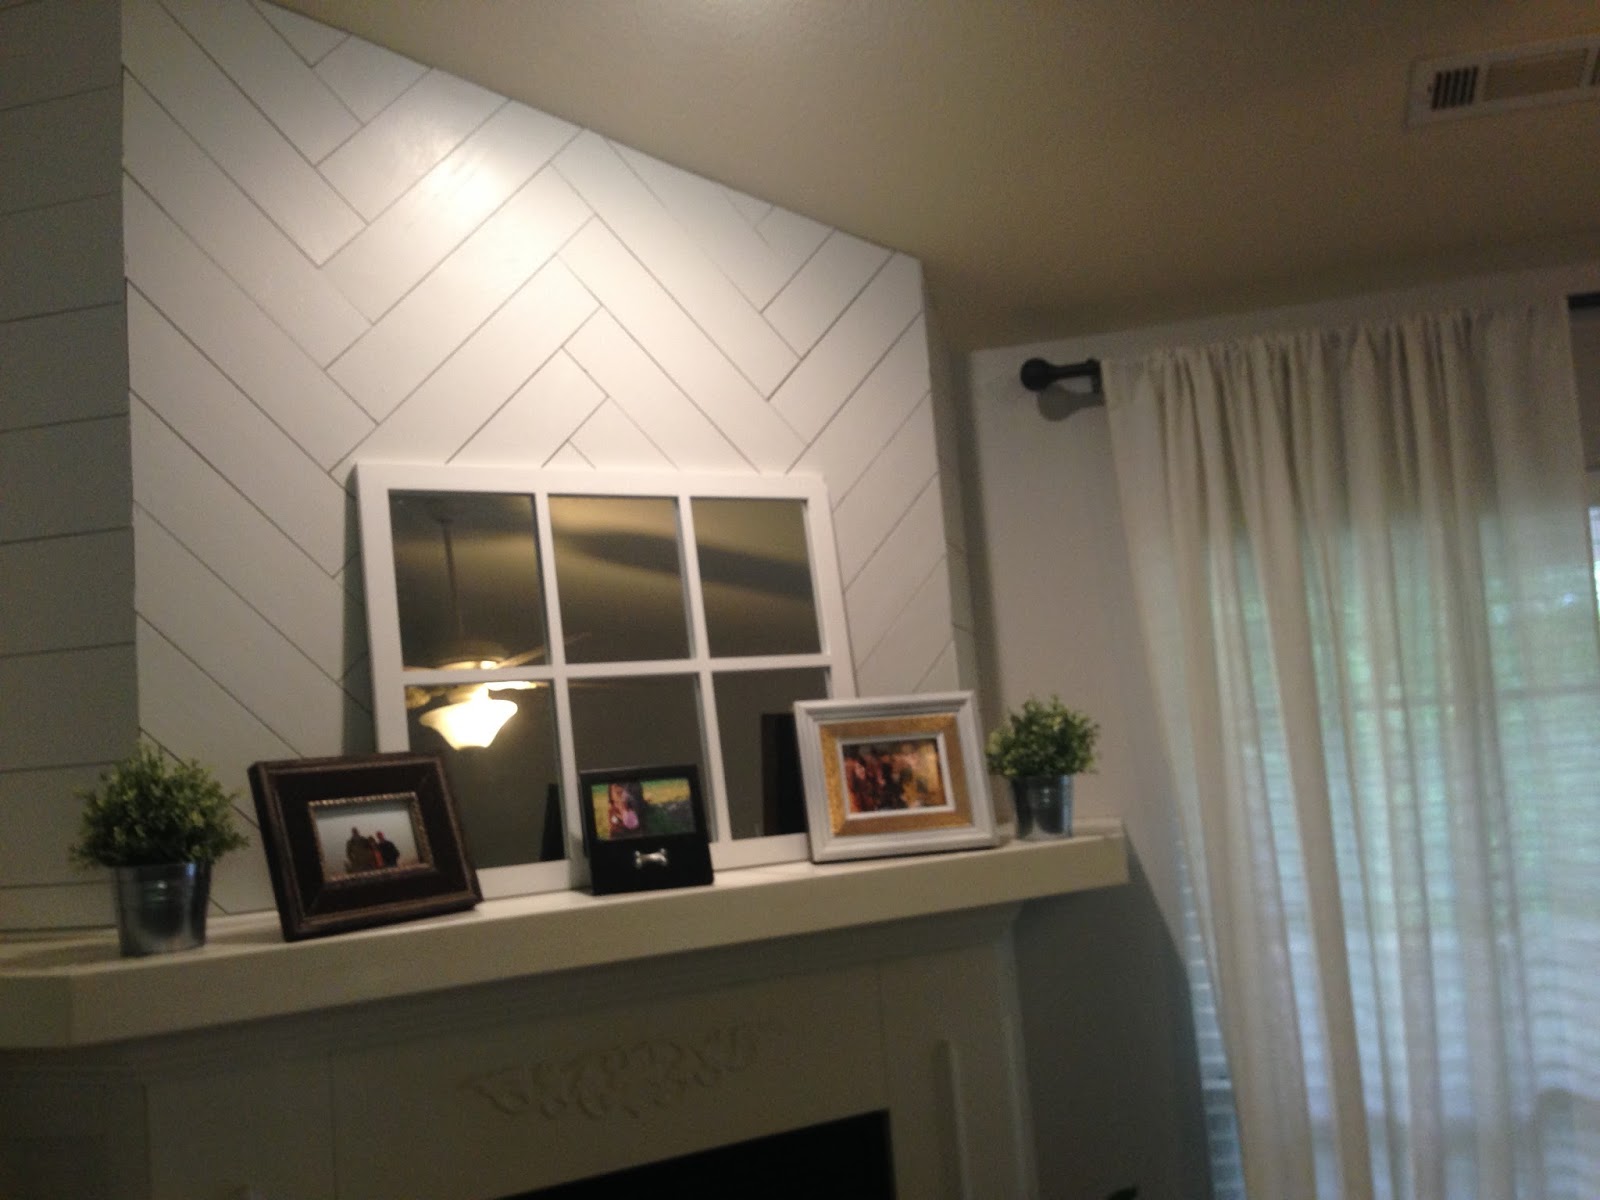
My FIL had the brilliant idea to do a herringbone pattern over the mantle.
Even though he was regretting that decision because of all the measurements and cuts, I'm glad he thought of it because it looks absolutely amazing!


The most difficult part was the herringbone (at first), and using the skill saw to cut and create a template of the molding around the mantle for it to align perfectly with the boards.


What do you think?
Don't you just love the end results!! 

I am so excited about it....this is officially my favorite part of the house now!


XOXO,
Jen


Sunday, April 12, 2015

DIY Orb Pendant Light

If you have never seen the HGTV show, Fixer Upper, you need to add that to your 
To-Do list. I love that show! The couple, Chip and Joanna Gaines, are so cute and fun to watch, and I just love her style!!
http://magnoliahomes.net/

With that said, I swoon over these orb lights that she uses!

link
I have seen them for sale for a couple hundred dollars, but that was not currently in my budget. 

I recently found this orb item at Home Goods for only $25 (say whhaaa!!) and knew that I had to buy it, especially when I received confirmation from a friend that I could DIY this baby into a my own pendant light! 


All it had was a short chain attached; I'm not sure what it's original purpose was other than a DIY project. 

I took it home and my amazing husband took off the chain and attachment from the orb. After doing this, it left a hole which we would use to secure the light fixture kit. 

I ordered a pendant light kit from World Market.

Then, my husband used his welding machine to weld it back together!

I spray painted it a metallic black color, added an Edison Bulb, my husband hung it up, and VOILA!


I love the look I got for such a cheap price too!

What do you think?!


xoxo,
Jen


Wednesday, February 25, 2015

Painting Kitchen Cabinets

We have officially completed the biggest DIY project that we've done yet and  painted our kitchen cabinets! We also added beadboard to all of the side paneling which really adds character to the kitchen and completes the whole thing!

I may or may not have thrown a tantrum or two while doing this, and there was a point where I questioned why I thought I could do this, but let me tell you, there is a light at the end of the tunnel and you can do it too! 

First, let me show you some before pictures.

These pictures are from the listing when we bought the house. 


Now for the revealing...


I did a lot of research before I started and everything said that you MUST sand first. After actually completing the task myself, I will also say that you MUST sand your cabinets. There is a polyurethane film that covers them and will prevent the paint from sticking.


After sanding, be sure to clean them really well of dirt, dust, grime, and any other unwanted grossness that may have been sticking to your cabinets.


Finally, priming. We primed really heavily. 

After you prime, paint.


We used Valspar Ultra semi-gloss Bistro White.


I didn't take any during pictures because the whole process is just something that you can't really see the stages of through a lens. 


This was A LOT of work, but totally worth it! I love the difference! 
Let's look again! :)


What do you think?
Have you ever completed a DYI this big? 
I would love to hear from you!

We have several more things to update and renovate in the kitchen, and although it all won't happen over night, I will keep you updated throughout the fun process, so stay tuned! :)

Coming up:
Paint kitchen walls
Change lighting in kitchen and dining
Add pendant above sink
Add cabinet pulls and knobs
New sink
New countertops 
New backsplash
New fridge


 xoxo,
Jen


Tuesday, February 10, 2015

Nursery Reveal


With Emma being 6 months old, and time passing by so fast, I feel like I should reveal her nursery to you before she grows up and moves out on us!

I finished it before she was born and have been meaning to share it with you, but just haven't taken the time to snap some photos.

Let me preface with the fact that I imagined a girly room that didn't have "baby" written all over it. I wanted something that she could grow up in {with soft colors and gold accents}. :)

We painted the walls a soft peach color, which I shared with you here.

A lot of her decor items were either vintage items from within the family, a DIY, or found at Target or TJMaxx. 
I will share a list down below.


My amazing friend created this amazing piece and
you can check out her Etsy shop here.


I used a jar for pacifier storage


You can see the rehab of this antique dresser here.


I removed closet doors for more space with the cupboard. 

I also labeled three baskets for storage
1. Too Small
2. Nursing Essentials
3. Hats


Gold "E": Hobby Lobby
"Quite Fawnd Of You My Deer" picture: DIY
Mint green & gold scripture painting: handmade gift
Dandelion Window: handmade gift
Curtains: Target
Glider: Target
Crib of blanket: TJMaxx
White frame: TJMaxx
Wire basket: TJMaxx
Peter Rabbit plates: family item

The blanket ladder was a DIY.
 The rocking horse and the vintage baby rocker was my husband's when he was little. 
The old window frame with the alphabet letters was a DIY.

The vintage scale is a family item that my father-in-law was actually weighed on as a baby and we used it as a prop during newborn and materinty photos.

 There you have it! 
What do you think? 

I am happy with the results! :)

xoxo,
Jen